So yeah, after years of back and forth between macOS and Linux, and numerous failed attempts of switching to Windows before, I'm back again. I used Bootcamp on a Macbook Pro for a month, and got me a Dell XPS which I have been using for two months now.
Maybe I'll write more about why I did that later. For now, I'll go through what I've done to set it up to get it the way I want it.
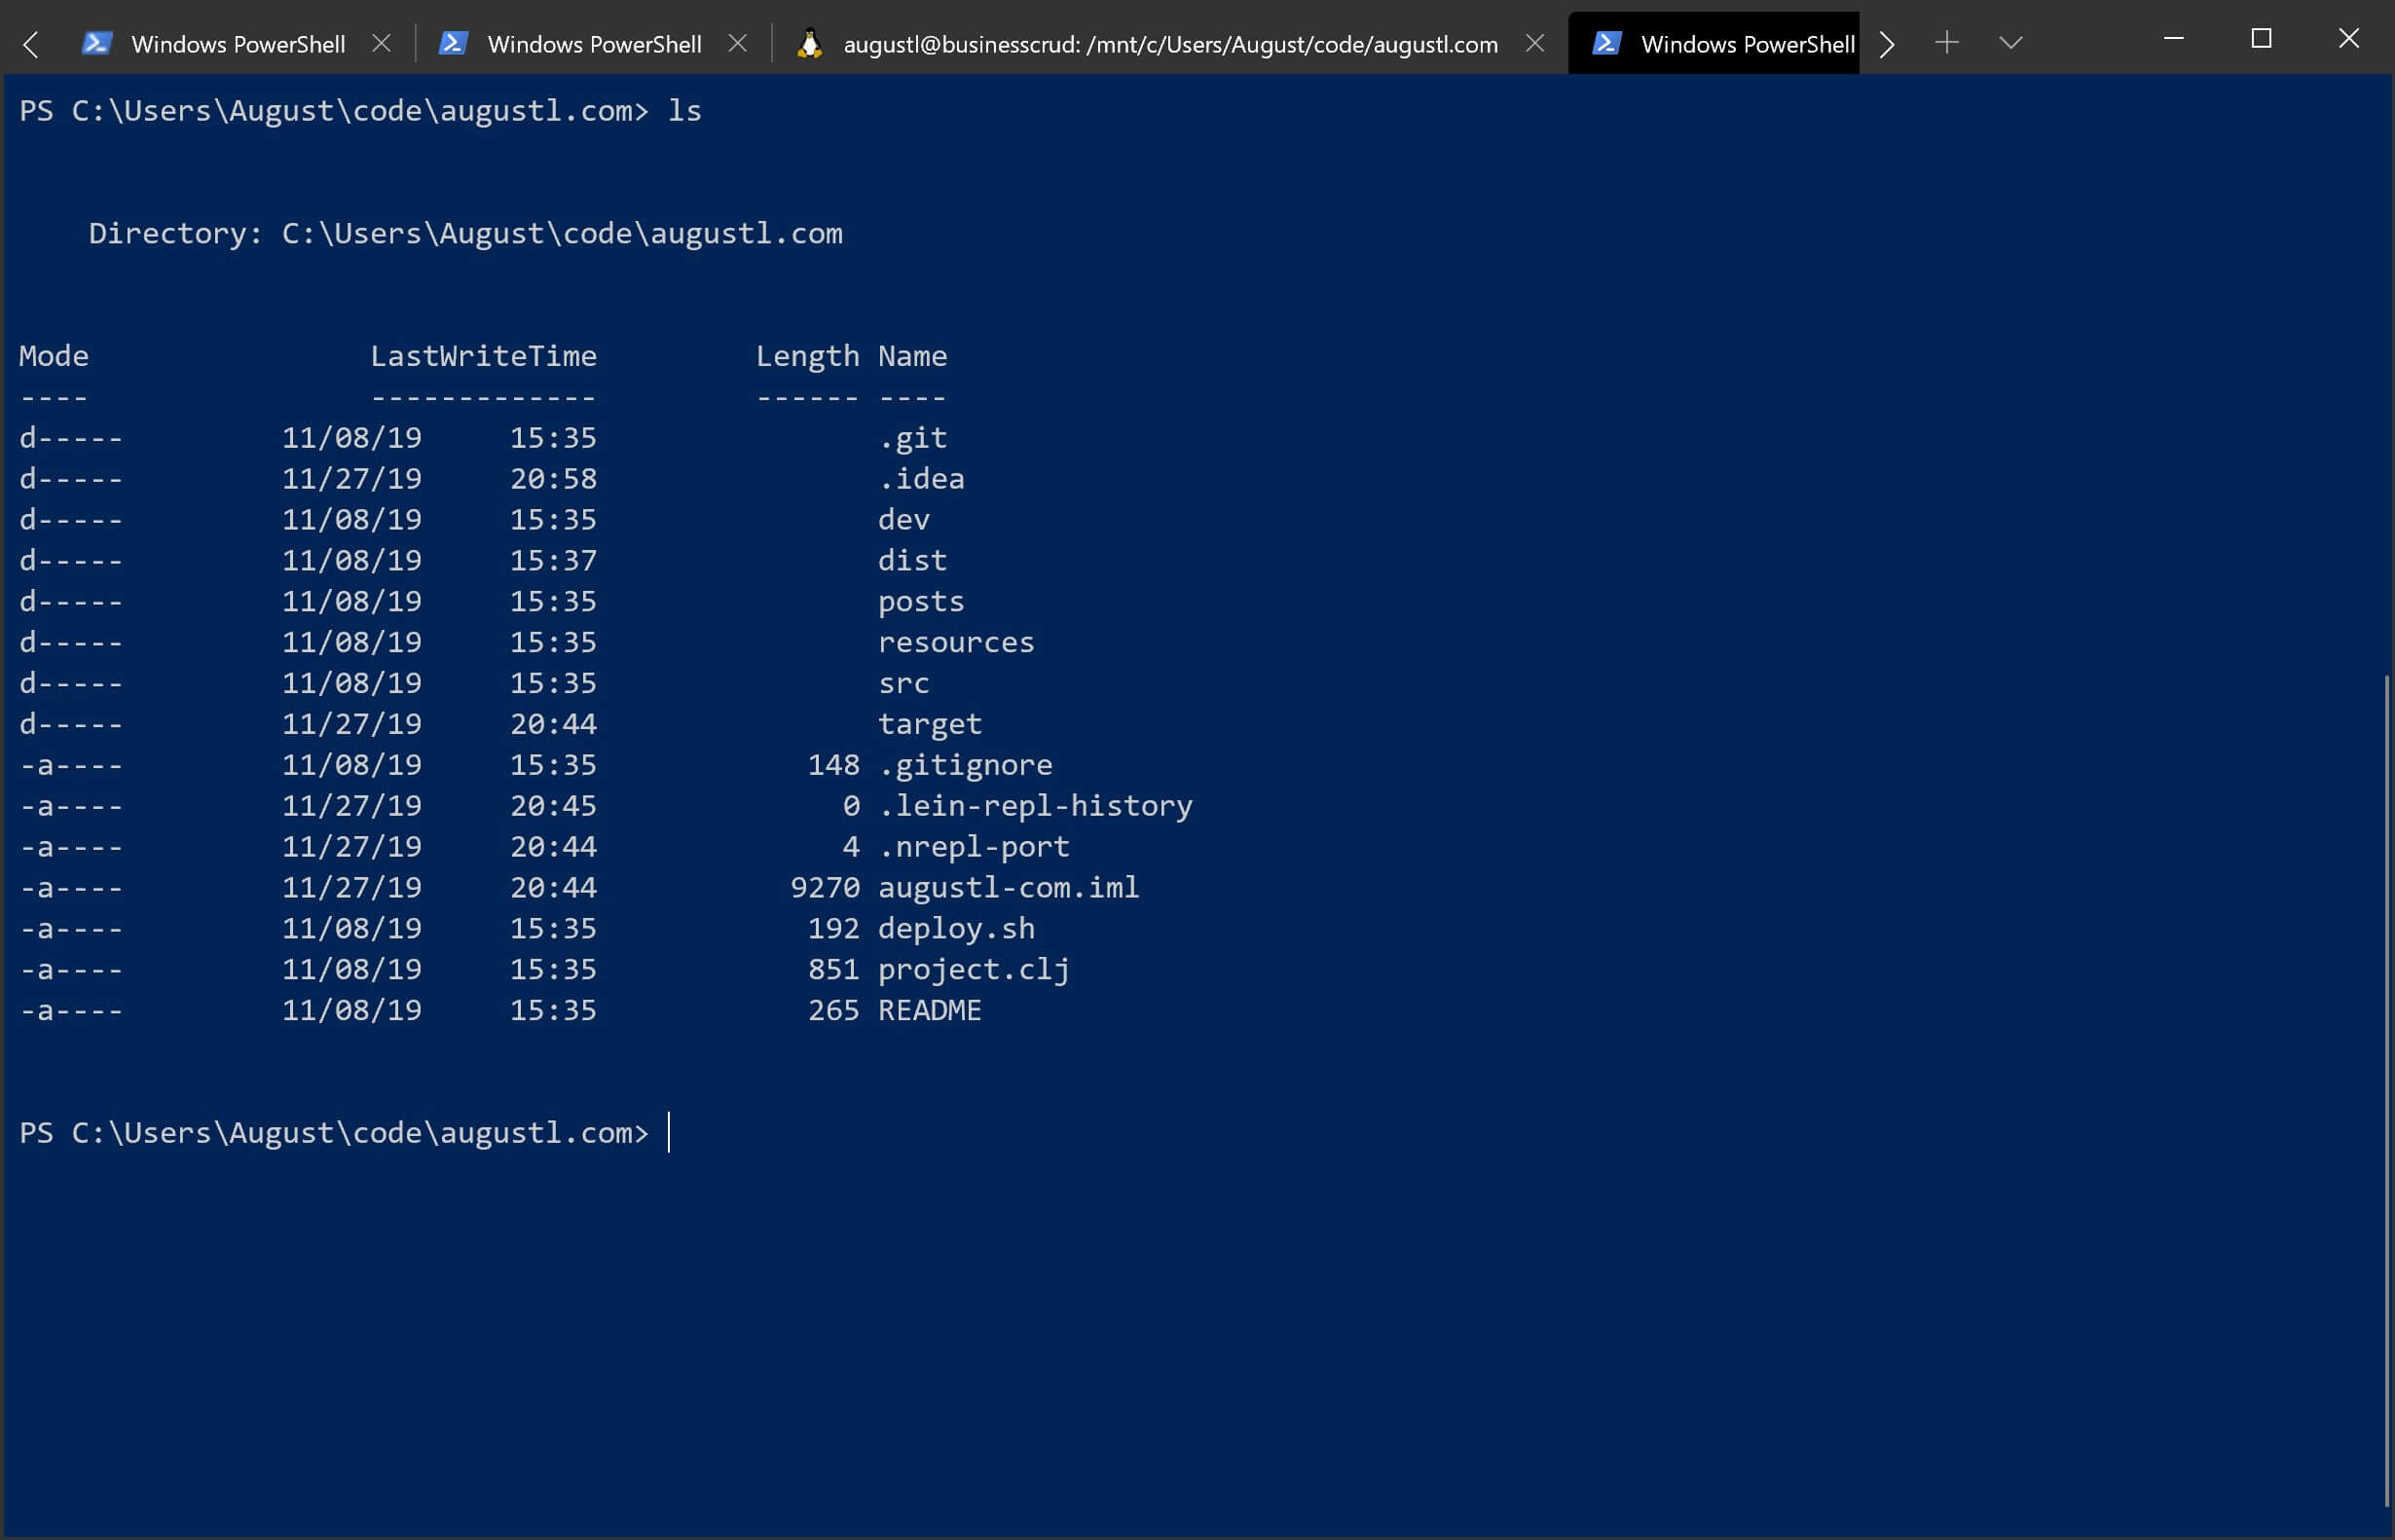
A good terminal - finally!
Opening up the terminal on a Windows box has felt eerily like opening a DOS virtual machine or something. Old and clunky.
Microsoft has made a new one, which is in early access at the time of writing. I've been using it for a few months and I've had zero problems with it. Works great!
You use ctrl+shift+{1,2,3,...} to open new terminals (the numbers correspond to the different types of terminals you can open), and ctrl+alt+{1,2,3,...} to switch between tabs.
You can install it from the Store - or build it yourself from source if you fancy that sort of thing!
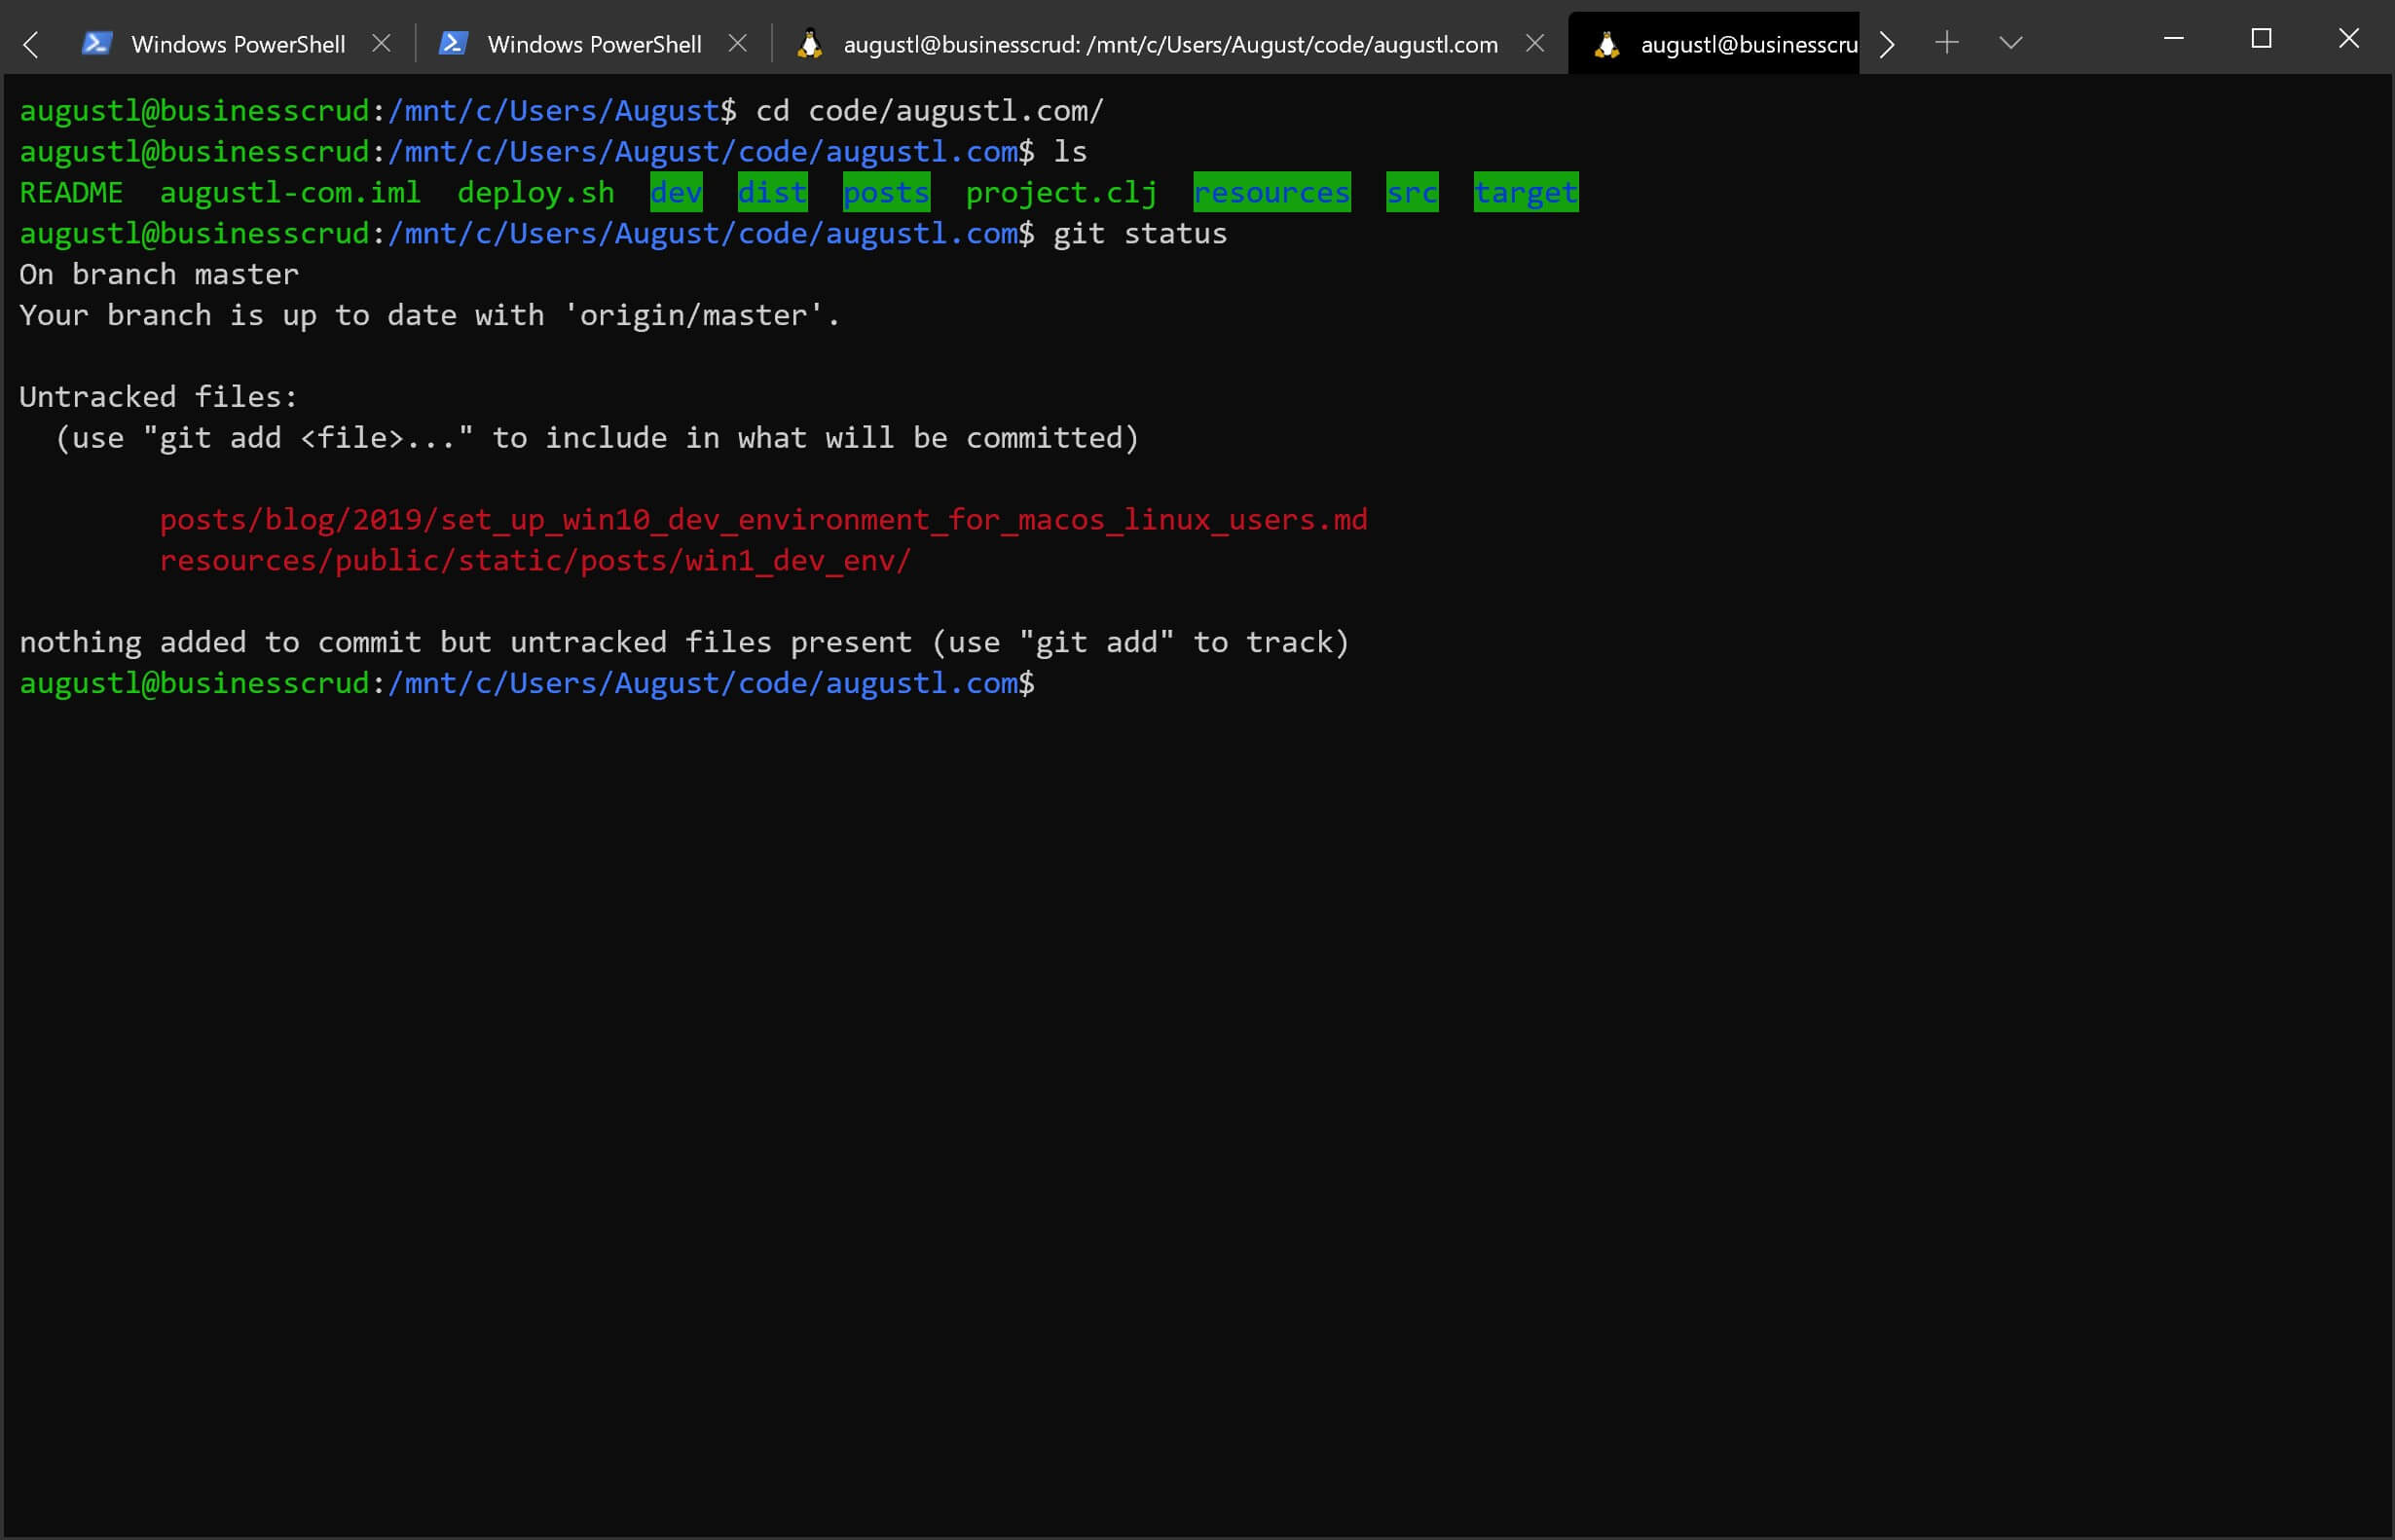
You are going to need WSL
This is going to be the most important step.
WSL is a full Linux environment, natively on Windows. Yes, you read that right.
You've also seen WSL already. Scroll up! It's in the terminal section, the part with git status. Looks great, doesn't it?
I'm writing this blog post using WSL. I'm currently working on making optimus run on Windows. But no problem, it already runs on Windows! Well, on WSL, that is. Which feels just like running it on Windows.
Follow this guide to set up WSL on your machine. As you can see, you can even choose between a number of distros. I, and most people, use Ubuntu, but it's nice to have the option.
I use PowerShell for most things. But I still haven't learned what the alternative for "curl" is, because I use WSL to do that.
WSL is your savior when you run into software that doesn't exist or won't run easily on Windows. In the world where I live, that's commonplace, since everyone uses macOS or Linux. And so do I :)
WSL is actually a full re-implemenation of the Linux system calls against the NT kernel. NT was designed to be able to do this sort of thing. On win32, starting a new process is slow and heavy, which can make things like git slow, since it's designed to fork a lot. But creating a new process is super fast on NT, which WSL takes full advantage of. Pretty neat stuff. In WSL2, they're improving things even further, and WSL2 can even run Docker images.
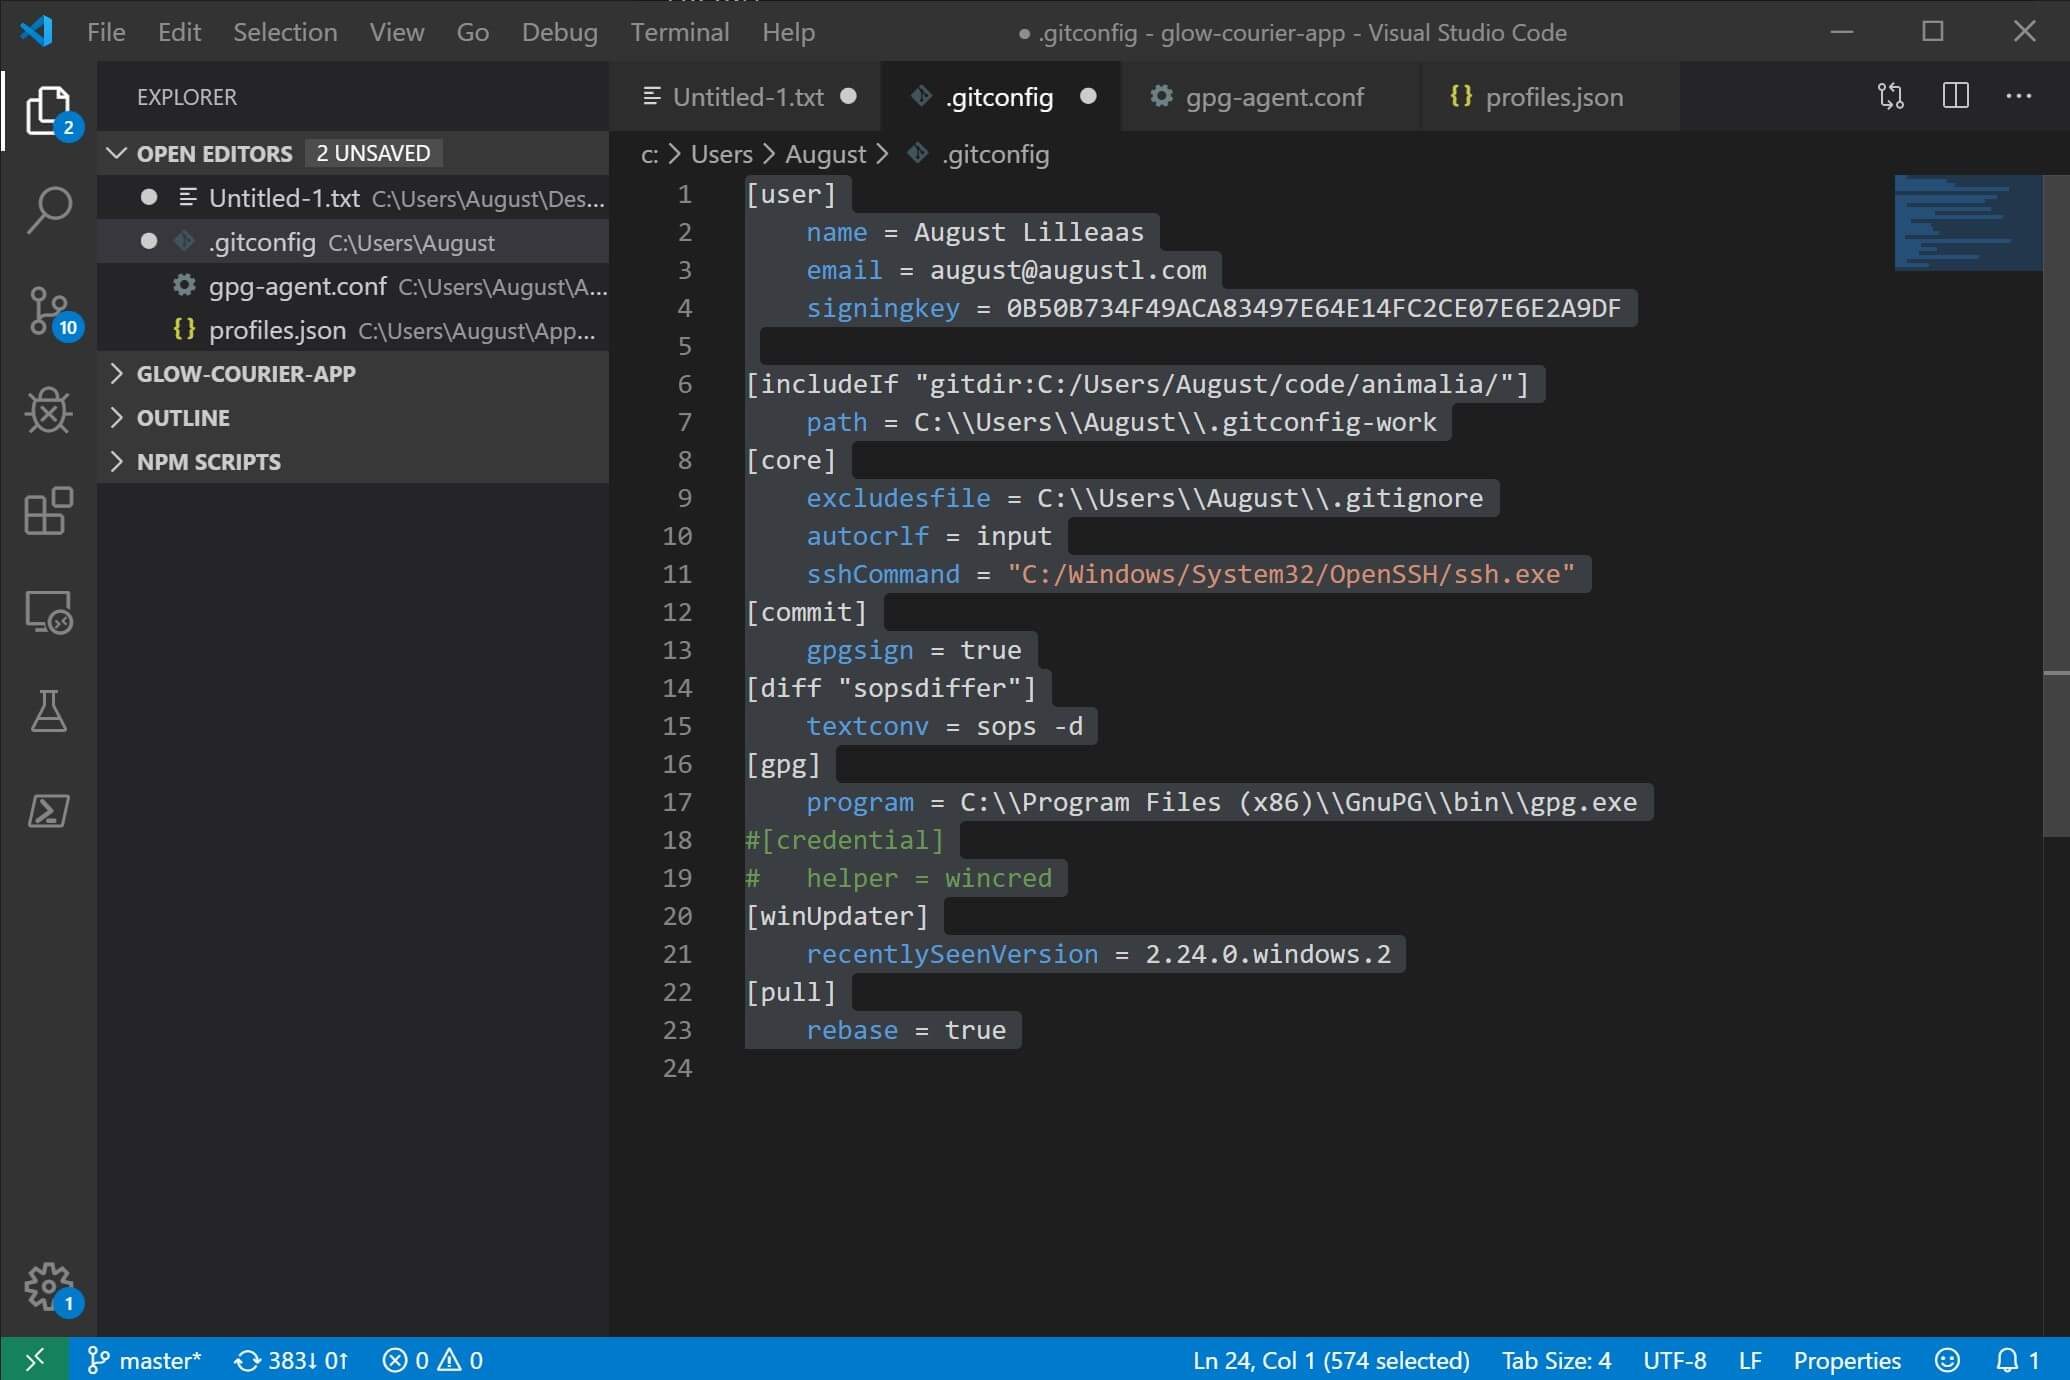
How I set up Git
I use gitforwindows.org. Here's my .gitconfig.
[user]
    name = August Lilleaas
    email = august@augustl.com

[includeIf "gitdir:C:/Users/August/code/animalia/"]
    path = C:\\Users\\August\\.gitconfig-work

[core]
    excludesfile = C:\\Users\\August\\.gitignore
    autocrlf = input
    sshCommand = "C:/Windows/System32/OpenSSH/ssh.exe"

[pull]
   rebase = true
Animalia is my current customer, and I have a separate gitconfig set up for them. This gitconfig sets my user.email to my work email, for example.
I told git to use the built-in OpenSSH command. Yes, Win10 has OpenSSH built in, including a service that runs the ssh agent automatically to cahce your ssh keys etc. But I guess this is pretty recent, since Git for Windows still comes with its own OpenSSH implementation bundled with it.
Setting core.autocrlf is super ridiculously important. On Windows, the default line separator is \r\n. I looked this up, and that's actually the "proper" way to do it. The BIOS/UEFI works like that, for example. But Linux and macOS expects just \n for newlines, so something has to be done. I've configured all my editors to just use \n as Windows can handle that just fine too. But to be on the safe side, git is also configured to actually check for \r\n and replace it with \n before it is committed. A nice safety net to have.
I actually have some more stuff in my real config - such as GPG signing of commits (to get that nifty verified badge on Github). I use gpg4win.org for that, which works beautifully out of the box.
[user]
    # Replace with your actual fingerprint obviously
    signingkey = 0B50B734F49ACA83497E64E14FC2CE07E6E2A9DF
[commit]
    gpgsign = true
I also configured GPG to cache my keys for longer, so I don't have to enter the GPG key passphrase almost every time I commit. The file to edit is C:\Users\MyUser\AppData\Roaming\gnupg\gpg-agent.conf (or %appdata%\gnupg\gpg-agent.conf for short).
default-cache-ttl 34560000
max-cache-ttl 34560000
You probably want VSCode
VSCode - or Visual Studio Code - is a lightweight editor (at least compared to Visual Studio itself) that's gaining a lot of traction, and is a pretty nice editor in my estimation. I'm an IDE guy and I use IntelliJ for my main projects. But for editing gitconfigs, opening log files, and so on, I use VSCode.
You can download it for free (it's open source and everything), and it's a much better alternative to the buil-in notepad - obviously.
Switching between Java versions
I'm not completely happy with this - I liked sdkman on macOS/Linux better. But it's the best one I've foudn so far.
Jabba is a PowerShell thingie to download, install and switch between JVM versions. At work we still have some apps that require Java 8, and others use Java 11, so it's nice to be able to switch.
You can get jabba here. The installation instructions there are good, so I won't bore you with the details.
One thing you need to fix is some permission stuff I haven't yet understood completely. Seems like PowerShell wants this sort of thing to be signed, and jabba is not signed (it seems). Instead of changing execution permissions system wide, I've configured Windows Terminal with a separate PowerShell setup, aside from the default one, that allows jabba to run.
Click on "settings" in Windows Terminal, and your editor (VSCode for me) will open with the config file. Mine looks sort of like this:
{
    "$schema": "https://aka.ms/terminal-profiles-schema",
    "defaultProfile": "{61c54bbd-c2c6-5271-96e7-009a87ff44bf}",

    "profiles":
    [
        {
            "guid": "{61c54bbd-c2c6-5271-96e7-009a87ff44bf}",
            "name": "Windows PowerShell",
            "commandline": "powershell.exe -NonInteractive -ExecutionPolicy Bypass",
            "hidden": false
        },
        {
            "guid": "{71c54bbd-c2c6-5271-96e7-009a87ff44bf}",
            "name": "Windows PowerShell (plain)",
            "commandline": "powershell.exe",
            "hidden": false
        },
        // ... the rest of my stuff here...
    ],
}
I also have .jabbarc in my system gitignore file (see gitconfig above) and put that in various projects. For example, one of the projects at work has this .jabbarc in the root of the project:
zulu@1.8.232Then I can just type jabba use when opening a new PowerShell terminal to my project folder, to use that version.